
If you’ve recently picked up a saxophone or are considering learning to play this beautiful instrument, you’re in for a treat. The saxophone is a versatile and expressive instrument that can create soulful melodies and add a touch of elegance to any musical performance.
The saxophone may look incredibly complicated with all its variety of keys and pads, but the saxophone is easy to learn once you know how to hold the instrument properly.

This article will break down and explain the five basic steps to holding a saxophone and how one should sit while playing the saxophone.
Step 1: Assemble the Saxophone
The first step to holding a saxophone is to open your case and put on your neck strap. Once you have your neck strap on, grab the body of your saxophone with one hand.
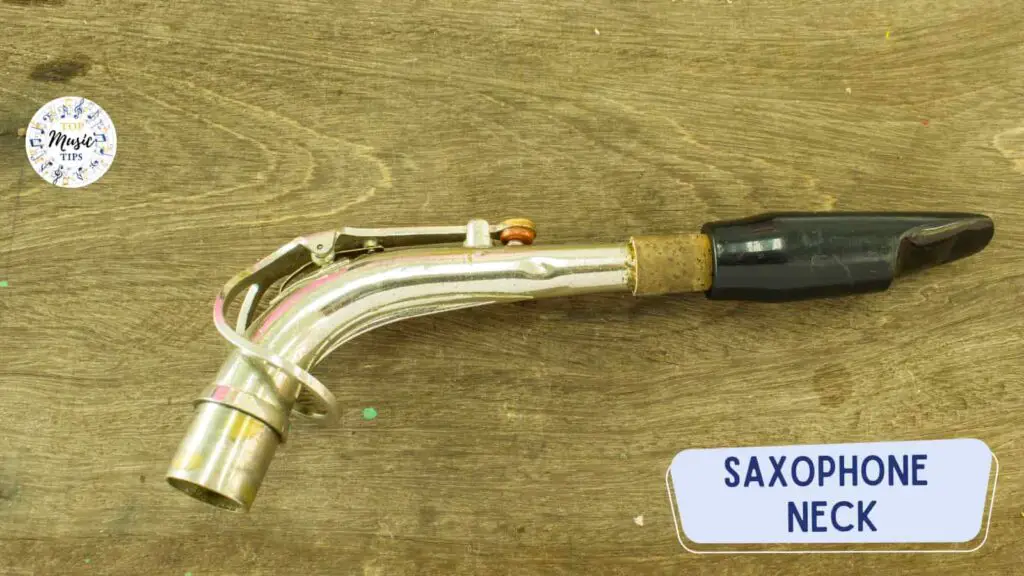
Loosen the neck screw on the body of your saxophone at the top. Then pick up the neck of the saxophone. Attach the neck to the saxophone’s body, using a twisting forward and backward motion.
Be careful of the register key on the neck, it is delicate, and you do not want to bend it out of shape.
Once the neckpiece is all the way in, line your octave key up with the middle of the neck and tighten the screw to hold it in place.
Then place your reed in your mouth to moisten it while you attach the mouthpiece to the neck, then the ligature, and finally the reed.
Step 2: Check Your Posture and Sit in the Proper Position
Sit in a comfortable position in your chair. Then scoot forward one to two inches to the front edge of the chair so your back is not resting against the chair back.
Next, imagine that there is a piece of string attached to your head, and someone is standing above you and pulling the string. This will keep your spine, neck, and head all in alignment, and you will lengthen your back.
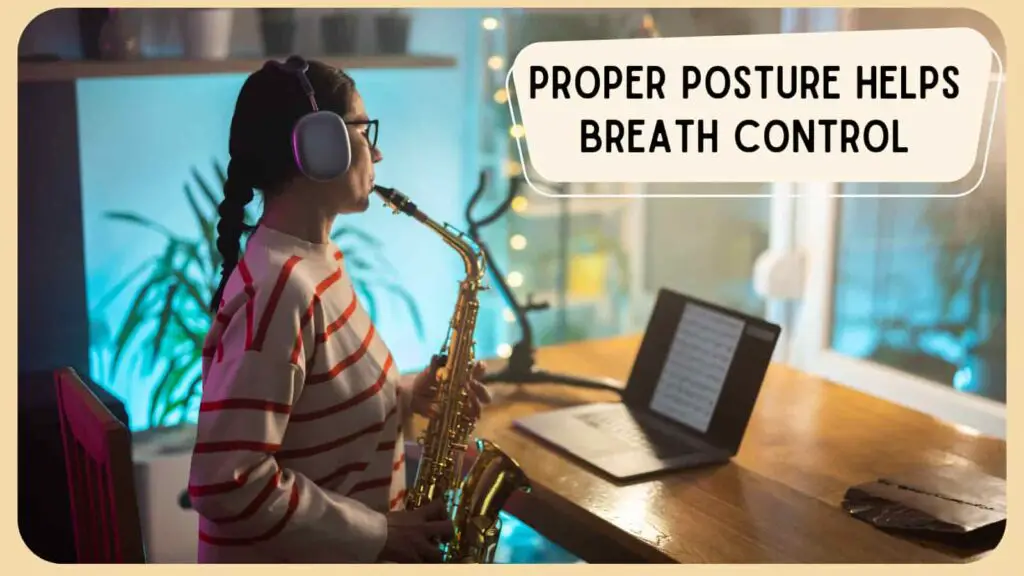
Then place both feet flat on the floor and stack your hips in line with your spine. Stay seated straight and tall. You do not want to slouch because it constricts your lungs from getting a big full breath of air to produce sound.
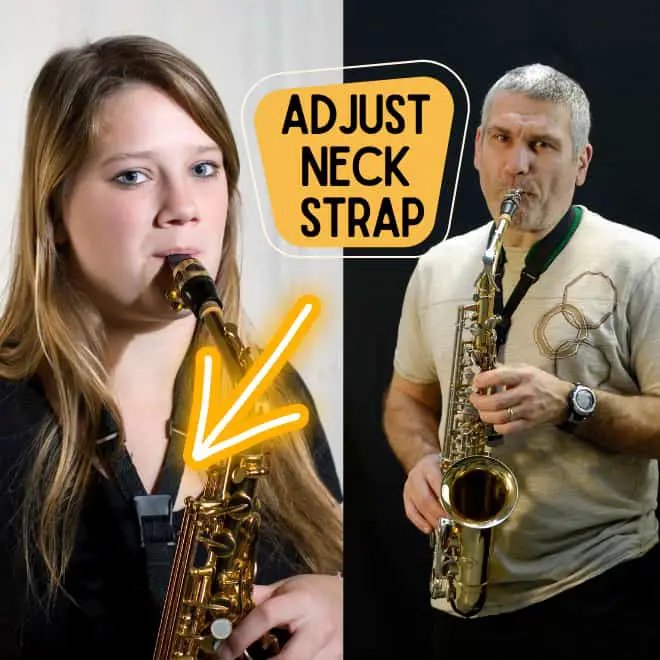
Step 3: Attach the Neck Strap and Adjust it.
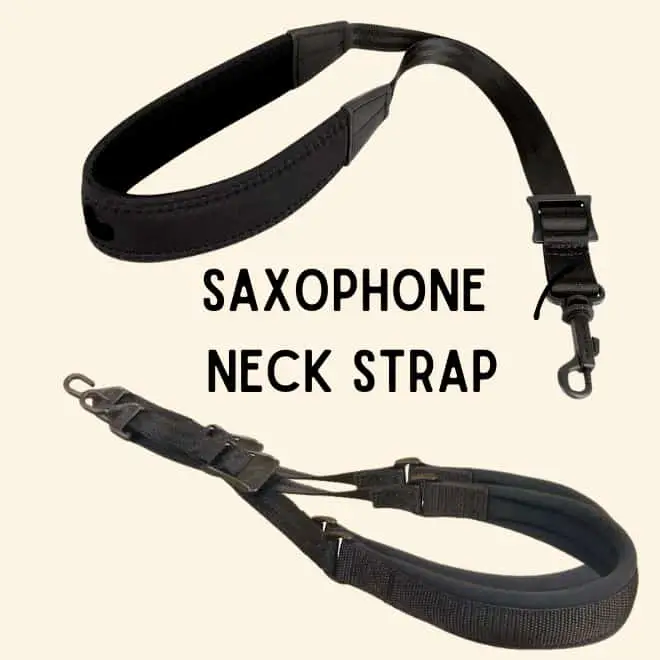
Place your saxophone on your right knee so the bell is at the bottom and facing to the left. Then attach the clip on the neck strap to the hook on the back of the saxophone. The method of attaching the neck strap to the saxophone will vary based on the kind of neck strap you have.
There is either a clip or you push a button. Once the neck strap is attached, you need to adjust it. Keep your saxophone on your knee and adjust the strap so it is tight but too tight. You will know if your neck strap is too loose, if it has a lot of slack, and if it is too tight if it pulls on your neck.
Step 4: Right-Hand Placement
The first hand we will place on the saxophone is our right hand. Make your hand into a C shape and find the thumb rest located towards the bottom of the saxophone’s body. Place your thumb on the rest with the inside of your thumb touching it.
Remember to keep your hand in a C shape and wrap them around the front of the instrument. First, you will place your index finger on the upper mother-of-pearl key (this is located close to the bell of your saxophone versus the top of your horn near the neck).

A smaller circular key is located right below the key you placed your index finger on; while it might feel natural to place your middle finger on this small key, you will skip that key. Place your middle finger on the larger mother-of-pearl key, followed by your ring finger on the next key below.
All that is left is the pinky finger, which you will place on the two half-circle keys with rollers or the D#/Eb key and the Low C key. Remember to keep your hand in the C shape so your palm isn’t pressing any keys. Look at the images below to get a better visual understanding of the placement of your right hand.
Step 5: Left-Hand Placement
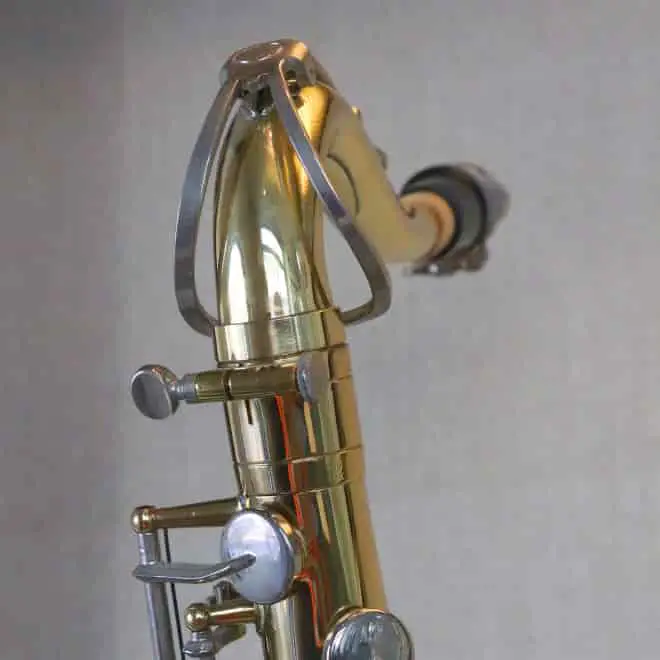
The second that we will place on the saxophone is the left hand. Find the button that is located about halfway up the back of the saxophone. The button doesn’t do anything; however, it is where you will place your left thumb.
There are some kinds of saxophones that have a second hook to use as the left-hand thumb rest. Not all kinds of saxophones have this second hook; it depends on the brand and the type of saxophone (soprano, alto, tenor, baritone).

Just like you did with your right hand, make your left hand into a C shape. Place your thumb on the back button and wrap the remaining four fingers around the front of the saxophone.
Your index finger will rest on the second large mother-of-pearl button, and your middle finger will rest on the pad below your pointer finger. Place your ring finger on the pad below the middle finger as well. Your pinky will rest on a smaller key located just underneath the other three. Look at the images below to get a better visual understanding of the placement of your left hand.
Video Examples
Check out the videos below to see and hear a musician speak about how to hold a saxophone. Mirroring a video can be helpful to some people who are audio and visual learners. Never hesitate to ask a band director if you need help holding your instrument or if you need a reminder; they are here to help you play and learn to love music.
Different Holding Position
Holding the Saxophone to the Right of Your Body:
You might have seen images or videos of saxophone players with their horns positioned on the right side of the body. This is one way to hold your saxophone, and it is recommended that if you have a small torso or are a younger student, you should rest your saxophone to the right of your body. This lowers the height of the mouthpiece, so you do not need to strain your neck and head unnaturally just to reach it.
You might have seen images or videos of saxophone players with their horns positioned on the right side of the body. This is one way to hold your saxophone, and it is recommended that if you have a small torso or are a younger student, you should rest your saxophone to the right of your body. This lowers the height of the mouthpiece, so you do not need to strain your neck and head unnaturally just to reach it.

Holding Your Saxophone Between Your Legs:
The second way you can hold your saxophone is right between your legs. This position is recommended for older, average/taller musicians.
Note: The rule of thumb is to position your saxophone so you do not need to strain to reach the mouthpiece or bend your body into a strange shape.
It may take experimenting until you decide whether to hold your horn to the right side of the body or in the center. When you march with an alto or tenor saxophone in the marching band, you will hold the saxophone out in front of your body parallel to the ground.
Additional Helpful Tips
- If you have to strain to reach the mouthpiece while marching, consider lowering your neck strap a bit to lower the height of your mouthpiece.
- You will use your left hand to control the balance and alignment of the saxophone’s mouthpiece to your mouth. What is important to keep in mind is that your left hand will not bear any weight.
- Your right hand and the neck strap will support the weight of the saxophone, which helps you keep your left hand relaxed and in a proper playing position.
- Keep your wrists straight to avoid causing injury or sore muscles.
- It is a good idea to place a chair in front of a mirror and look at your body positioning when you sit and hold your saxophone.
- If you are a beginner, it takes some time to be able to know exactly how to sit and hold your horn correctly every time, and that’s okay.
- After only a few months of playing, your body will develop muscle memory and instantly make you sit appropriately once you sit in your band class seat.
If you (or your child) are young and have slightly smaller hands than other kids, it might be a bit of a challenge to stretch/spread your hands into a proper playing position.
If this is the case, either speak to a private lesson teacher or your band director and explain that you can’t quite reach certain keys. They should be able to help you develop an alternative way to reach the keys until you grow big enough to fully and adequately reach all the keys on your instrument.

Do not feel discouraged if you have a hard time reaching all of the keys at first; you are still growing and will eventually be able to reach every key you need. It just takes some time and patience, just like learning to play an instrument does.
TIP: Make sure you are playing with the correct size and strength of reed.
If you are a beginner, you may start out using a size 2 or 2.5 saxophone reed, but as you continue playing and building technique, you may move up to a size 3 or 3.5 reed.
The lower the number is, the thinner the reed will be, and the higher the number, the thicker the reed is. The thickness of a reed will impact the tone and how difficult it is to play the instrument.
Until you get used to it, it might seem kind of gross to suck on a reed while you put your horn together. Clarinets and saxophones need to have a moist reed for the sound to come out correctly and clearly. Everyone looks silly with a reed hanging out of their mouth, but this is a necessary step to playing a woodwind instrument.
Reeds are also very fragile and can break easily. You want to be careful putting the reed in your mouth so that it doesn’t chip on your tooth or tongue, and when you place the reed on your mouthpiece, never touch the tip with your fingers.
Pro Tip: Place the embouchure on the mouthpiece before the reed so you can slide the base of the reed into place and avoid chipping the top.
It is best to play with a non-chipped or broken reed; however, you can still play if there is a small chip. Just remember to switch your reed before you play again.
Buying a reed case, a little piece of plastic that can hold two reeds up to six at a time and helps protect the reeds you are using, which means you will have at least one extra reed in your case ready to go for backup. It also means you can remove the reed after you are done playing (just like you put the reed on the mouthpiece first) and return it to the case to prevent the mouthpiece cover from chipping it. Reed cases mean you don’t need to carry an entire box of reeds with you to class. Remember, you can never have too many reeds if you play a woodwind.
We hope this article has been helpful and informative for you in your musical journey. Please let us know if there is anything that we could add or change to make this article a better resource for our readers.
Please e-mail us at: [email protected] to let us know how we are doing!
Disclaimer: This post may contain affiliate links. We only recommend high-quality products that are used and recommended by real musicians. If you use these links to buy something we earn a small commission.